Showing posts with label ombre. Show all posts

Sunday, June 12, 2011

Pictorial ~ Ombre Manicure ~ Zoya Sooki (pic heavy)


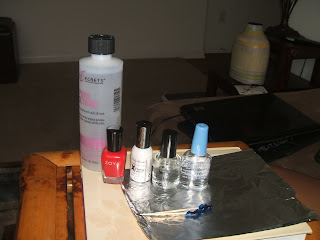
Hey dolls, some of you requested a pictorial of how I did my first ombre mani (view it HERE) a few weeks ago...so here it is. Here are the materials needed:

  • Opaque nail polish of your choice
  • white polish
  • base/top coat
  • toothpicks
  • aluminium foil or a paper plate
  • acetone/polish remover. 
I used Zoya Sooki as the original color and Sally Hansen White On as the add in.
First apply the base coat of your choice. I used Sally Hansen Double Duty. After the base coat is dry, polish your pinkies with the opaque color of your choosing.
Place 3-4 drops of your opaque color onto the mixing surface.
Add one drop of white polish, then mix with a toothpick until the colors are blended.

Polish both ring fingers with this mixture. Its easier to do the fingers at the same time, so make sure you mix enough for both.
Clean off your brush using acetone/polish remover after each finger to avoid the colors mixing.
For the middle fingers, add 2 drops of white to the base color then stir with a toothpick.

Continue with the index fingers by adding 3-4 drops of white to the base color. Stir and then polish both index fingers.

For the thumbs, put down 3-4 drops of white polish first. Then add 1 drop of your base color and stir.
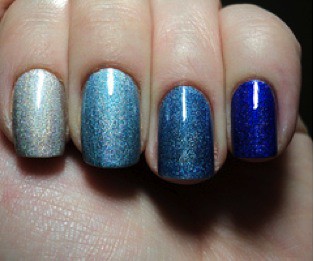
Here's what your completed ombre mani will look like. You just have to use your judgment when adding white to make sure the color progressively changes. When done, I added a top coat of Seche Vite.


Indoors with flash
Sunlight, no flash
I know, I know...that was a lot of pics. But at least all of you can do this now. Its super easy and only took me about 15-20 mins. Give it a try and let me know what you think. Happy polishing dolls!

Monday, May 30, 2011

Ombre Nails with Zoya Mira

Zoya Mira
Kris Nations, Spring Step, Moschino Cheap & Chic

ShopStyle

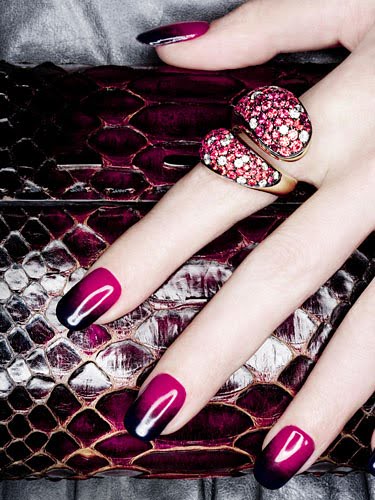
Yesterday I decided to partake in the trend of ombre nails. This was after I had a failed attempt with my Bundle Monster plates. I didn't realize there was such a learning curve with stamping...but that's another post. I saw some really pretty pics of ombre manis on one of the nail forums I frequent and wanted to give it a try since I messed up my Zoya Tanzy mani during stamping. Ombre manis can either be going from a dark to light  shade on each nail or a progressive dark to light across the hand.
Source
Source
I decided to go for the dark to light across each hand. In comes Zoya Mira...this shade was on my list of untrieds and purple polishes are one of my favorites. I would recommend using a very saturated, opaque color for this technique. Here's how it turned out!


I'm really pleased with the way this mani came out for my first attempt!!! Here's what I used.
The pinky finger is the original shade of Mira. I then added 1 drop of White On to Mira for the ring finger, 2 drops for the middle, and 3 for the index. I added 1 drop of Mira to White On to get the lightest shade on the thumb. I would recommend using aluminum foil or something durable that you can throw away for this process. I started off with a styrofoam plate...FAIL. Some polish remover got on it and it ate through the plate...luckily I saw it before the polish got all over the place...smh. You'll also want to clean your brush after each finger so they don't mix.

How do you feel about this technique??? Would you like a pictorial??? I think I'll be trying this again for sure!!!